How to make a Hobby Horse using a found 1950s Vintage Pattern
Preparing to Make a Toy Horse
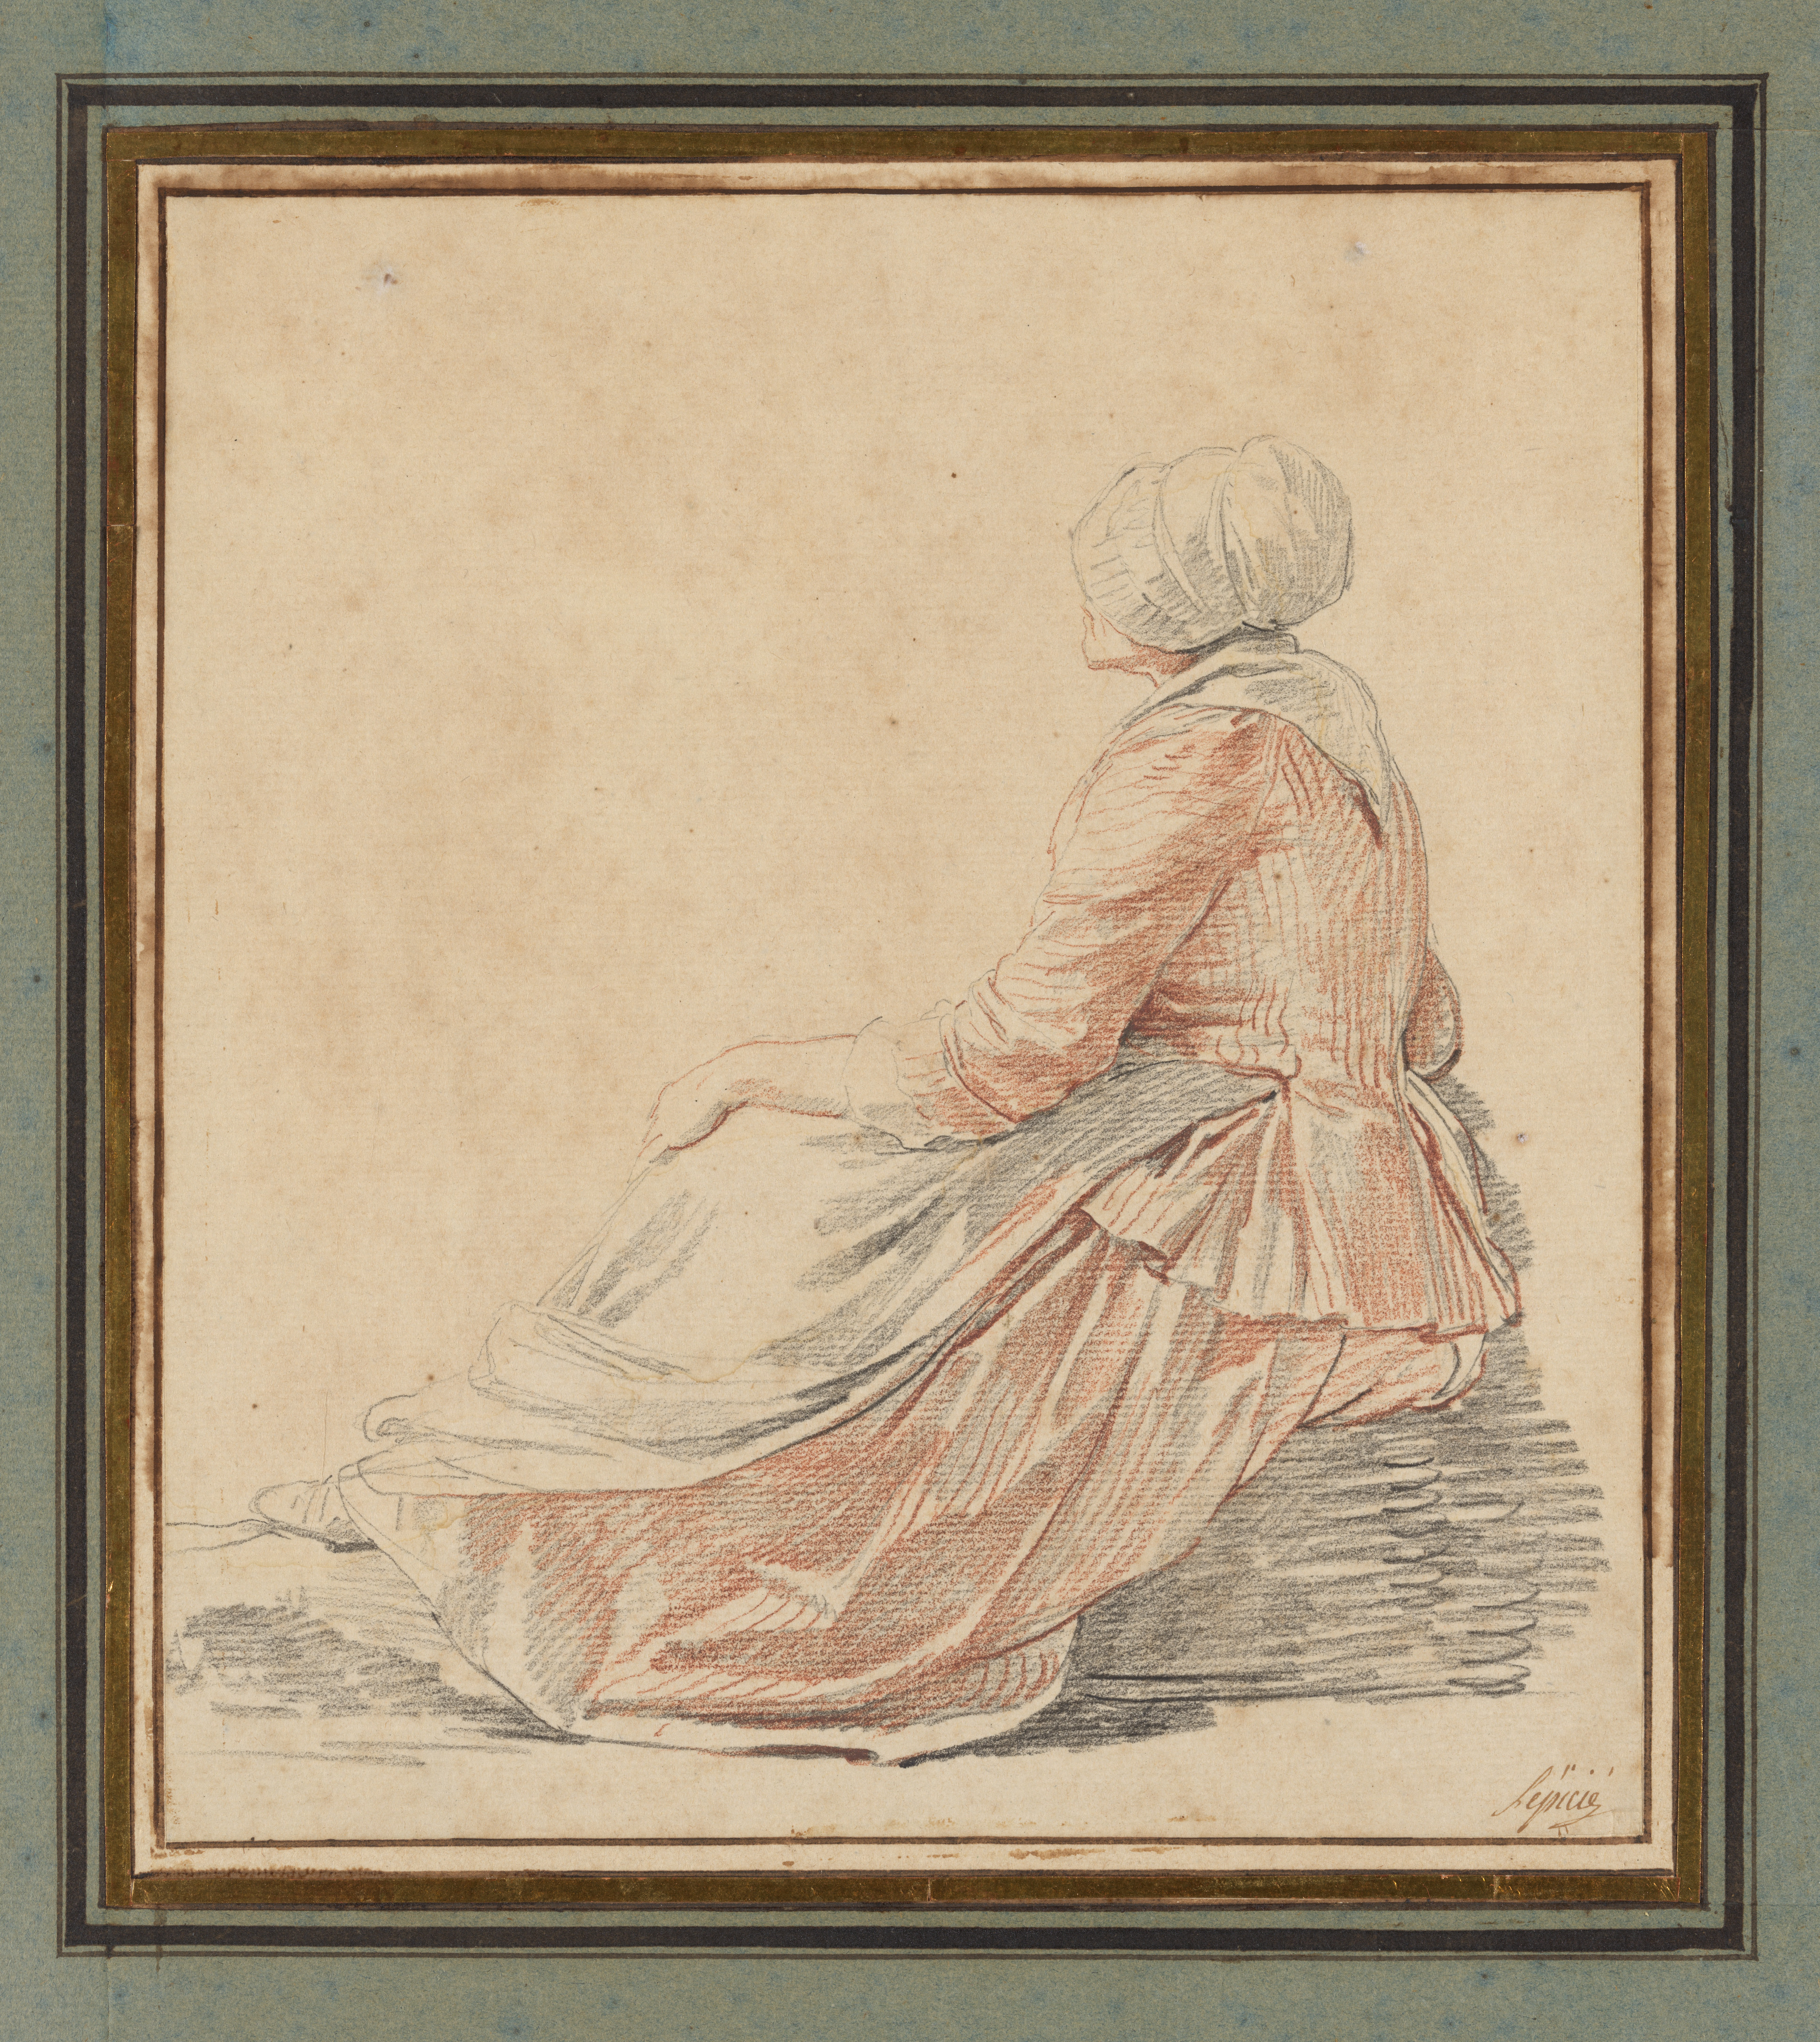
My inspiration for making a hobby horse.
Within a basket of assorted old sewing patterns, I found a stamped envelope addressed to my great grandfather. Contained within it, I discovered a pristine sheet of folded paper. No name or copyright identifies the printing company, but among the red lines which covered the paper from one corner to the other, I spotted the head of a horse.

Whether this pattern was originally mailed in the envelope in which I found it will remain a mystery, but there’s no question this stencil was meant for my great grandmother rather than her husband.
The pattern outline and instructions for a toy horse were one element of a large sheet of heat transfer outlines meant to inspire women of the 1950’s to fill moments of leisure time adorning ordinary household linens. By embellishing towels, pillowcases, and other cloth house ware items, the homemaker could add touches of personality and color to otherwise utilitarian possessions. Just like a pinking iron could be used to fancy up a Georgian gown, a little needle, thread, time, and whimsy can give humdrum materials new life.
We are in no less needs of such hobbies today than we were in my great grandmother’s adulthood, so why not try bringing this old pattern to life?


Enter, the stick horse.
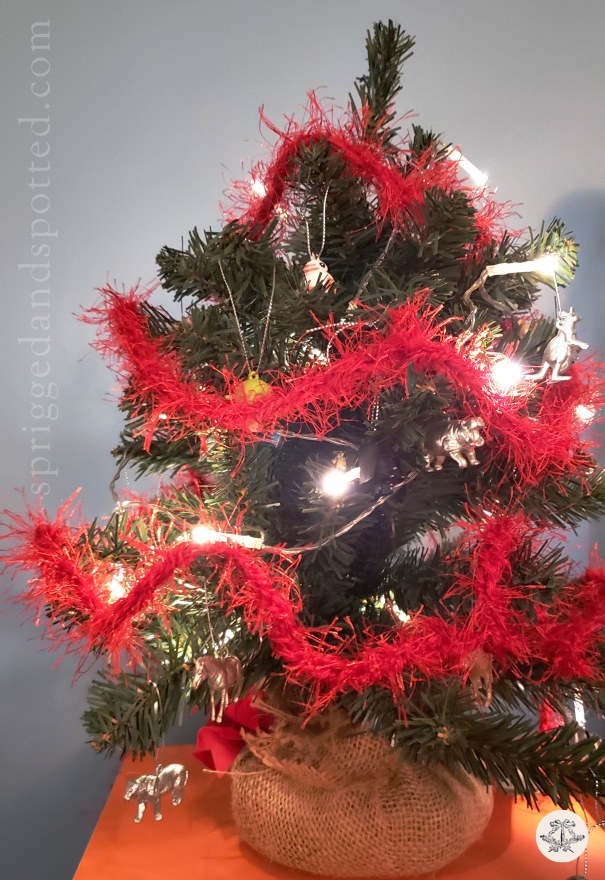
As instantly recognizable and universal as spinning tops and baby dolls, pretend horses are classic toys that have surely existed since the dawn of time. (Join me for greater exploration of this cultural history in Part 2). Like other time tested toys, hobby horses can of course be purchased new. But, I had some free time during the months leading up to Christmas a few years ago, and I decided to make play horses from items I had on hand.

Thrift at Home: Using what you have on hand.

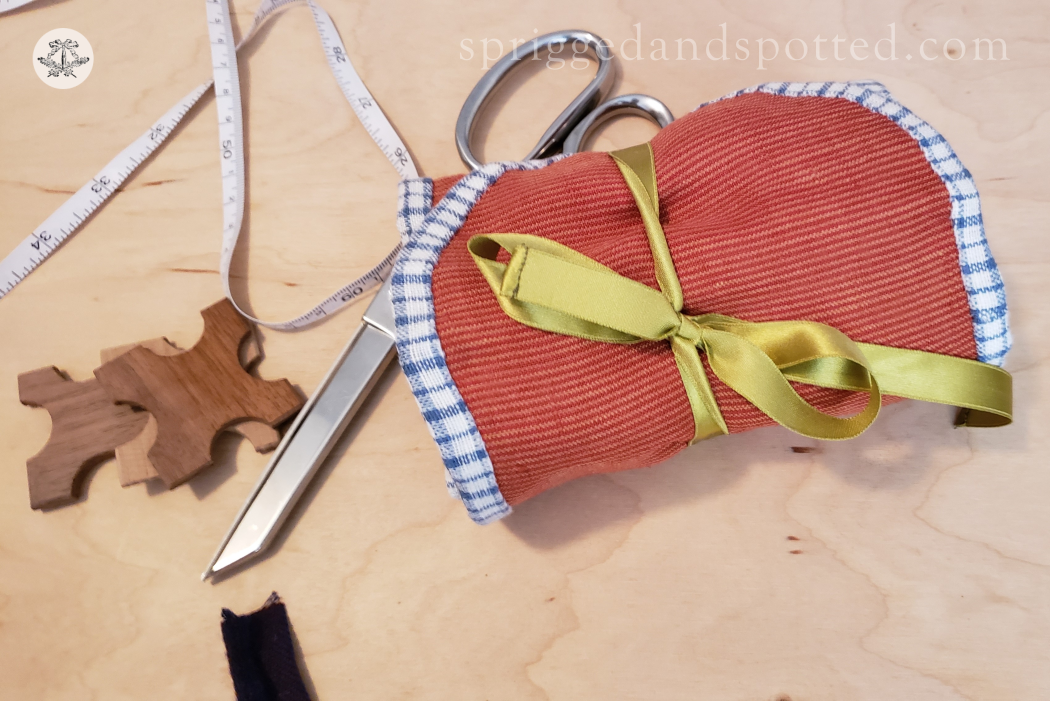
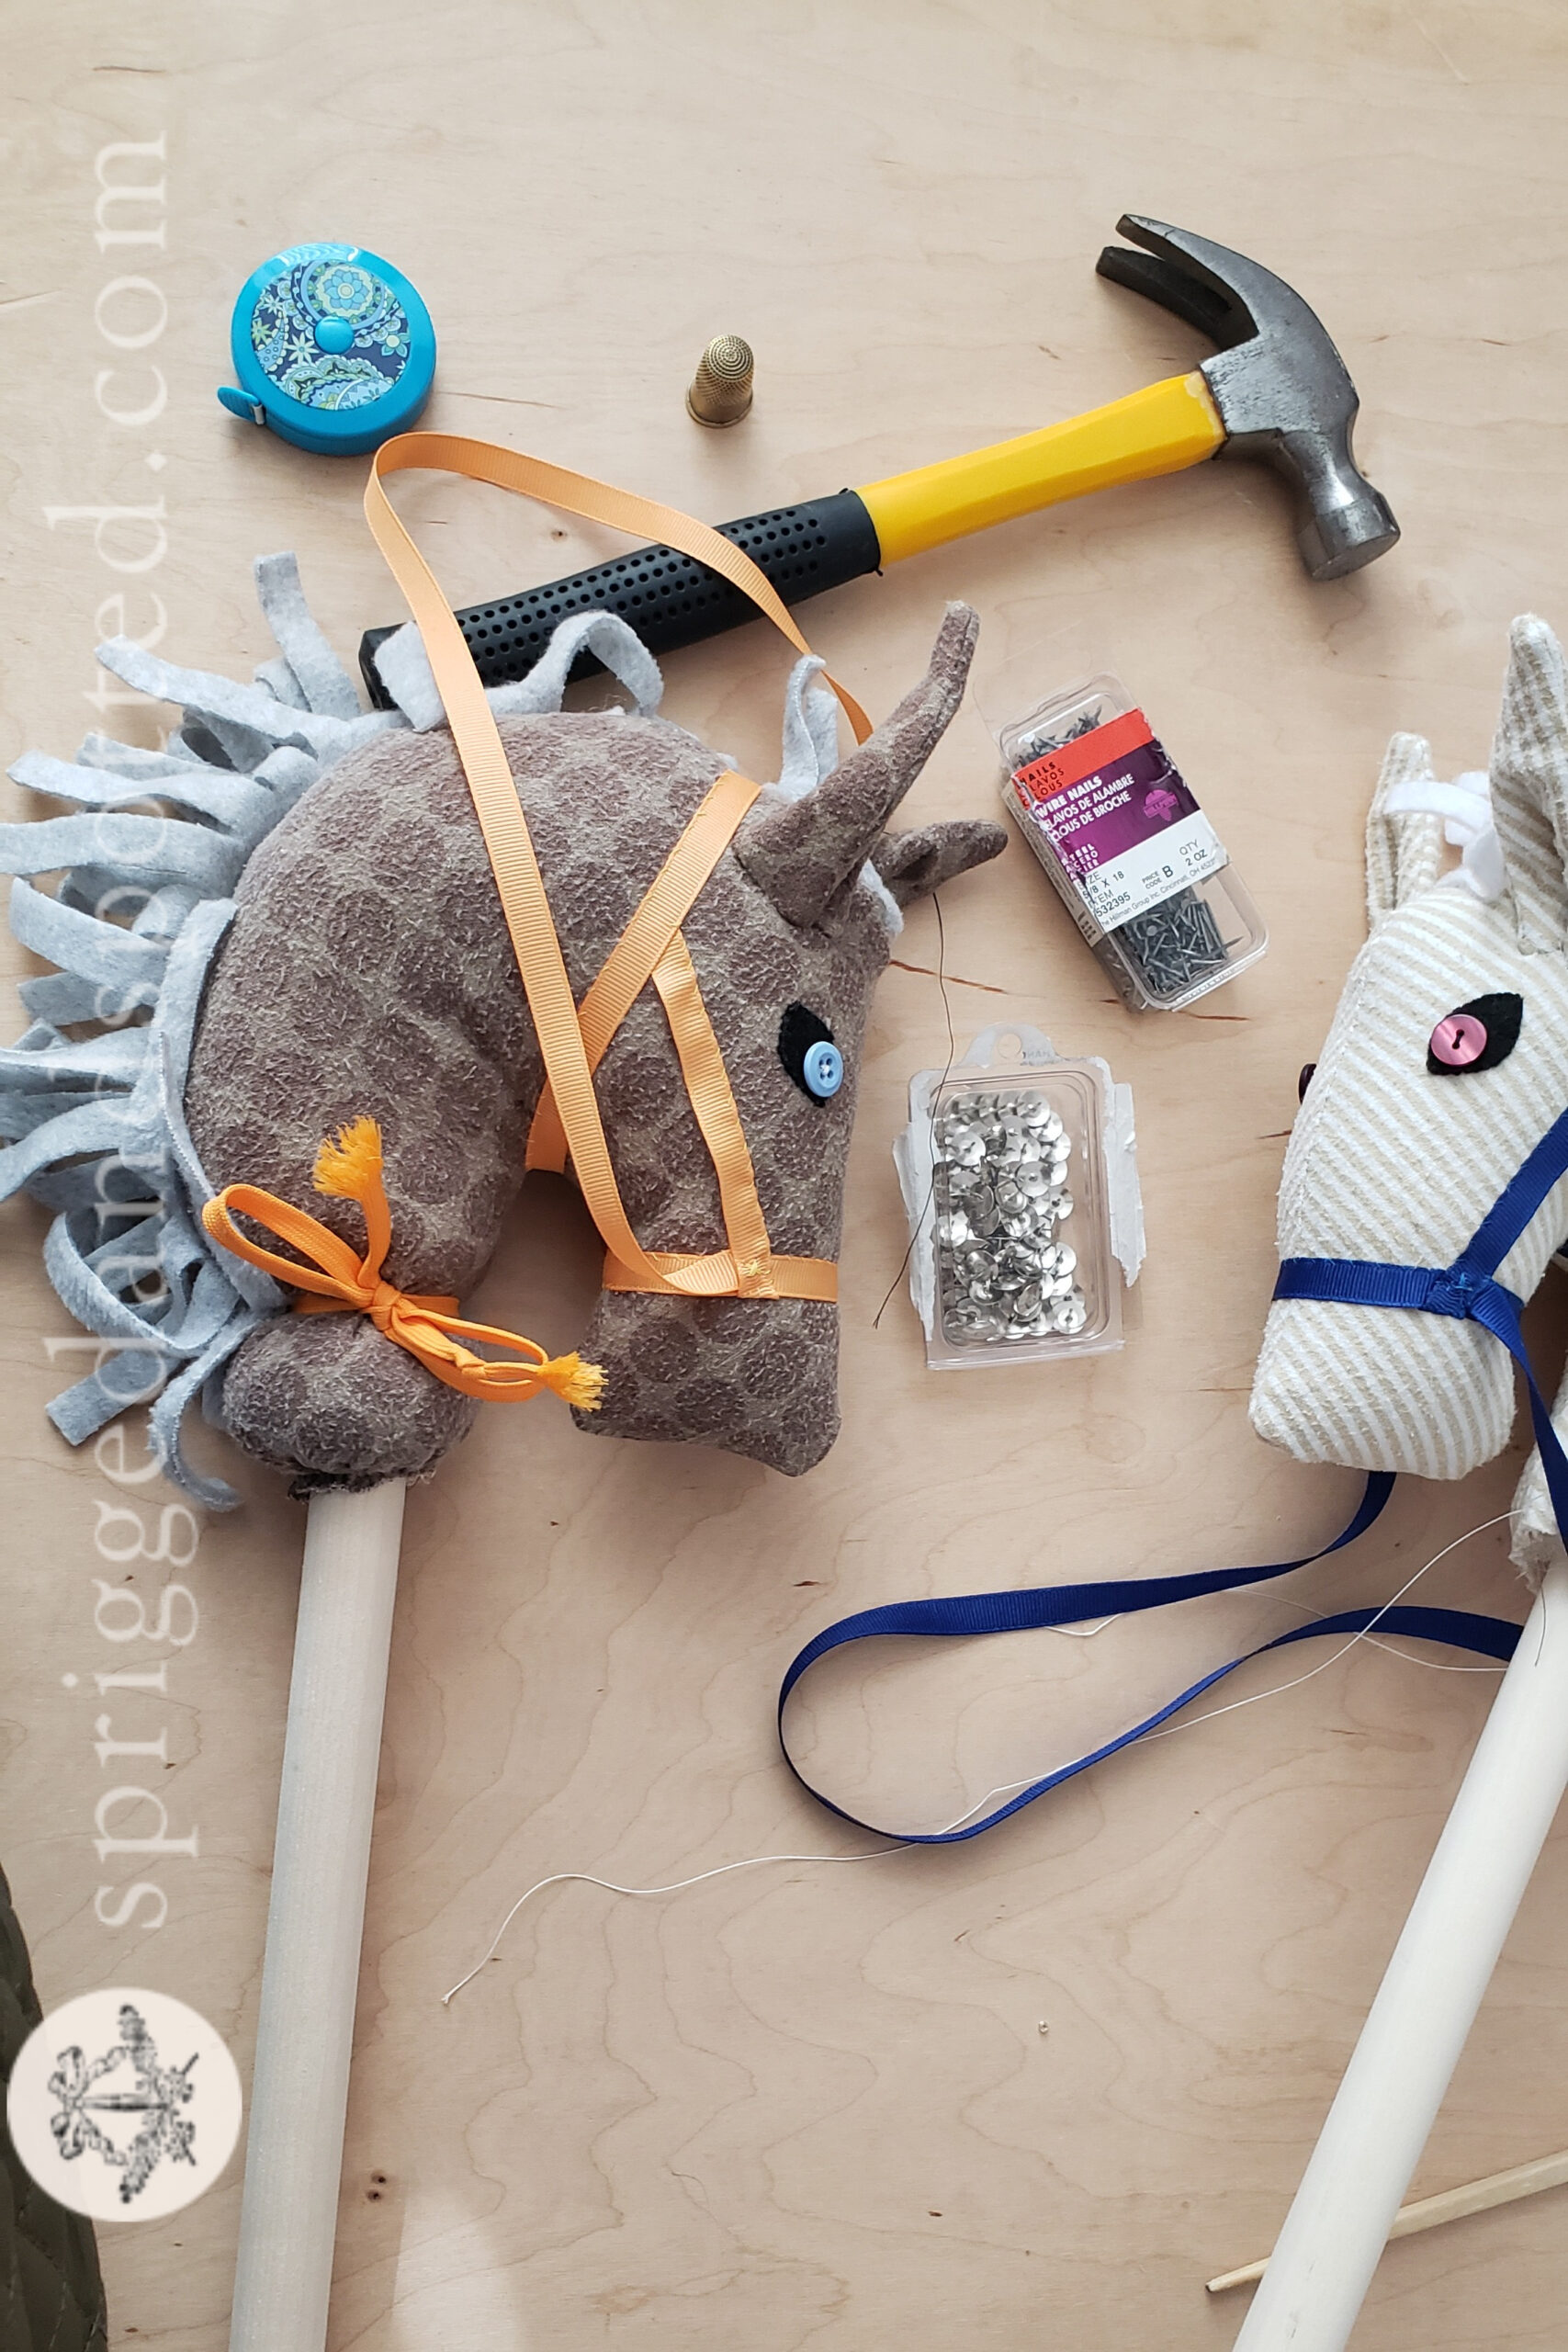
I challenged myself on this project to use materials that I already had on hand. I used vintage buttons, repurposed fabric, remnant ribbon, and off-cut knit fleece for the mane. Having no old wooden broom sticks around to sacrifice for the cause, the only things I purchased specifically for this project were the dowels.
Like many moms, I find it hard to throw away sentimental cloth goods that my children have outgrown. This was the perfect project to cut old flannel baby blankets and make them into charming toys. Once complete, these noble equines were named “Charger” (brown) and “Pebbles” (ivory) by their new owners, my young sons.

Gather Materials & Equipment
Materials
This is a great project to use what you have on hand in your craft supplies as well as repurposing salvaged materials. Choose durable materials with life left in them though, because the horse will need to tolerate being played with.
| Component | Description |
|---|---|
| Sturdy woven fabric | A cheerful color or pattern adds whimsy. |
| Ribbon or single-fold bias tape | About 2 yards needed. |
| Mane material | Non-fraying fabric, remnant fringe, or bundled yarn |
| Interfacing | Heavy interfacing, duck cloth, or canvas (for ears). |
| Accent fabric | Craft felt or leather (for eyes). |
| Buttons | Vintage or salvaged buttons are perfect. |
| Stuffing | Fiberfill, or worn out old clothing cut into strips. Spongy fabrics, like knits, work best. |
| Thread | Any color. Heavy thread helps with gathering around dowel. |
| Duct tape | Any color. (Maybe avoid cliché gray.) |
| Nails and/or pushpins | Flat head pushpins work well. |
| Dowel | 7/8″ diameter, approx 35″ long. |
Equipment
Sewing machine, hand sewing needles, thimble, wax (for hand sewing), measuring tape, hammer, etc.

How to Assemble a Whimsical Toy Horse
Original 1950’s Instructions
“Hobby Horse – Cut head for horse allowing 1/4 inch seam around edge. Use gay print, a polka dot or stripe, chintz or even oilcloth. A three inch length of white cotton brush fringe makes a splendid mane. Three inch lengths of candlewick yarn may be used. Working wrong side out, seam sides of head together catching mane in seam between arrow points (see sketch finished horse). Seam around ears on wrong side leaving open seam at lower edge. Turn head and ears right side out. Turn in and close lower edge of ear, fold and blind stitch in place on head. Cut two black felt scraps for eyes with white buttons for eyeballs sew on either side of face. Stuff head firmly with any available filler leaving about one inch unpacked at neck edge. Insert at least six inches of thirty-six inch (or more) length broomstick. Gather and draw bottom edge of neck to broomstick. Wrap this edge with strong black tape and hold securely in place with about three small flathead nails. Colorful bias tape makes an excellent bridle. Blind stitch in place and secure with buttons.”
Hobby Horse Instructions (Annotated):
Step 1. Cut out pattern pieces
Cut head for horse allowing 1/4 inch seam around edge. Use gay print, a polka dot or stripe, chintz or even oilcloth.
For this project, I used old cotton flannel receiving blankets, lightly pilled and no longer needed for infant care in my household. I also cut the ear shapes from heavy cotton canvas, to add stiffness. Total pieces per horse: 2 head shapes, 4 ear triangles of outer fabric, 2 ear triangles of canvas, 2 strips of fleece for mane (see next step).


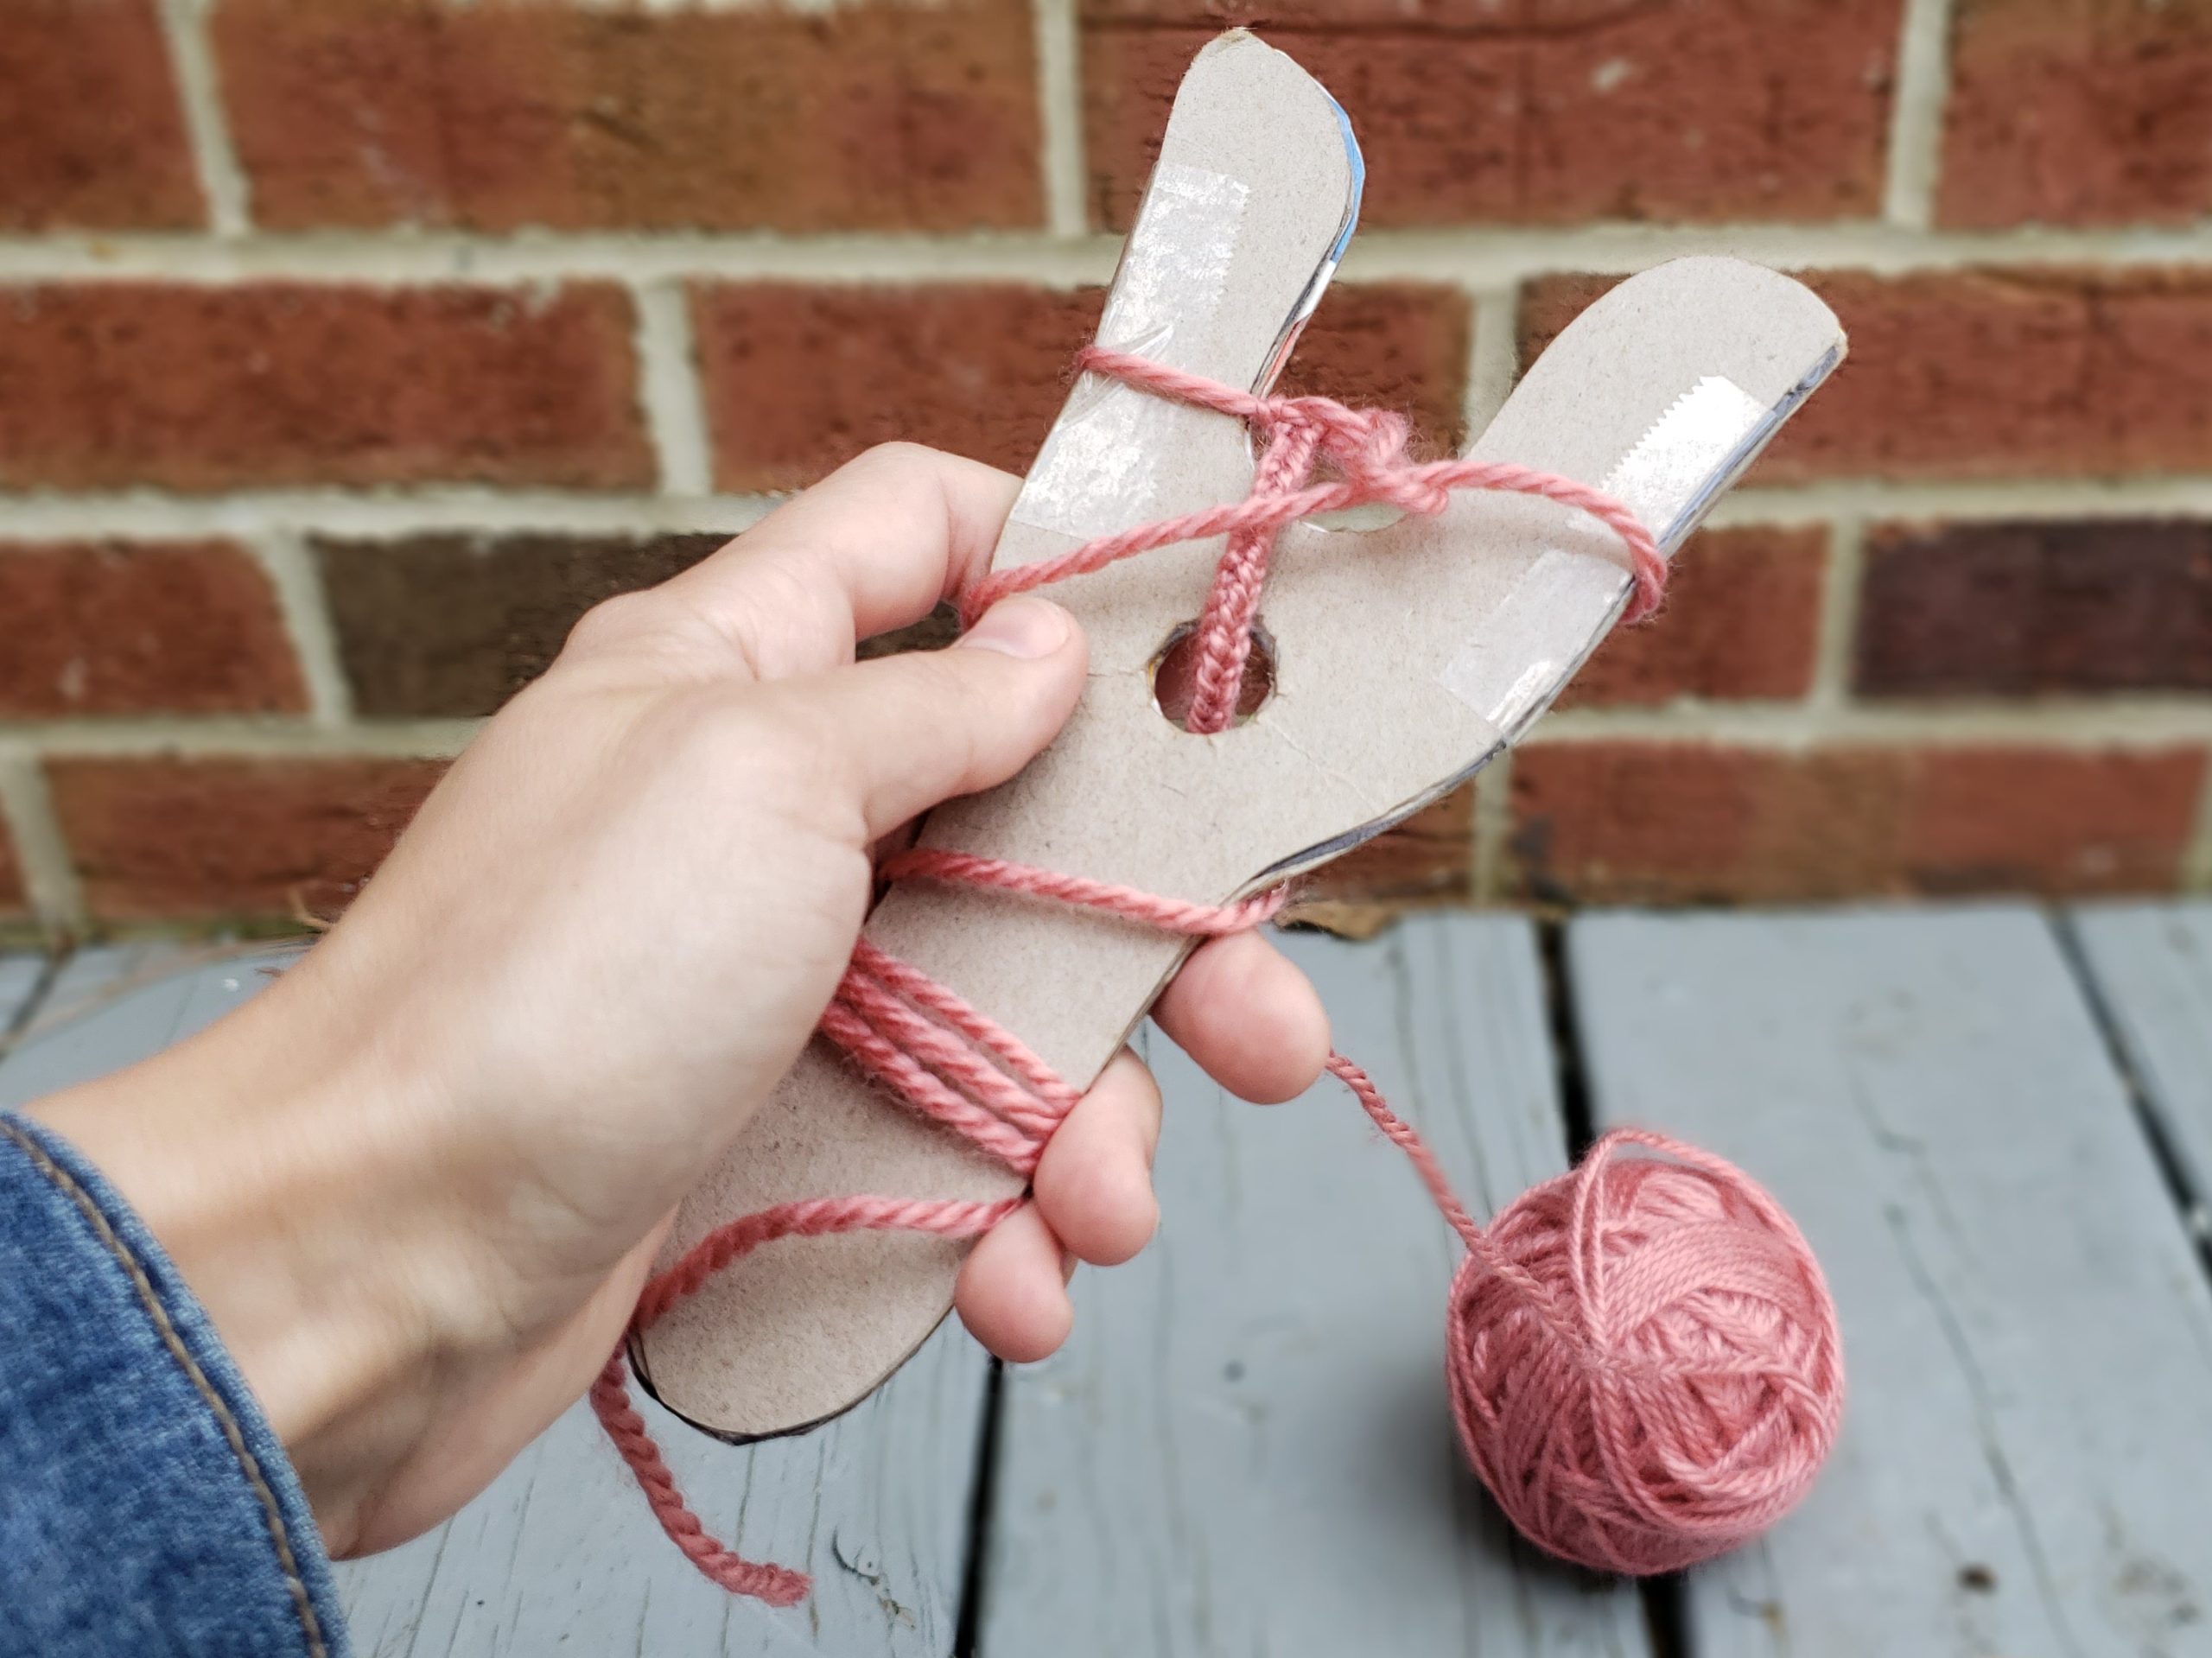
Step 2. Select mane material
A three inch length of white cotton brush fringe makes a splendid mane. Three inch lengths of candlewick yarn may be used.
In a further effort to make use of material I already had on hand, I chose some fluffy polyester fleece from my fabric stash. I cut the fleece into a fringe pattern leaving one edge of the strip intact (to be sewn into the seam). I used two lengths (strips) of this homemade fringe per horse to make the manes more full.
Although not shown in the in-progress photos, I also added a short section of this same mane material between the horses ears. The gap in the main allowed the bridle to lay flat on the top of the horses’ heads.
Step 3. Construct head
Working wrong side out, seam sides of head together catching mane in seam between arrow points (see sketch finished horse).
I used my modern electric machine to complete this very straight forward step. But, a vintage treadle machine can accomplish this job too, if you have one at your disposal.


Step 4. Construct ears
Seam around ears on wrong side leaving open seam at lower edge. Turn head and ears right side out. Turn in and close lower edge of ear, fold and blind stitch in place on head.
I placed the flannel pieces right sides together and added the canvas piece to one side. After that, I seamed the long sides and turned them right sides out, then hand stitched the bottom edges closed. The pattern shows the location the ears should be attached to the heads.

Step 6. Add eyes
Cut two black felt scraps for eyes with white buttons for eyeballs sew on either side of face.
I chose pairs of vintage buttons and bits of craft felt for the eyes and sewed those on by hand.

Step 7. Fill with stuffing
Stuff head firmly with any available filler leaving about one inch unpacked at neck edge.
I used commercial polyester stuffing that I had available. This could be a great project for stuffing with fabric scraps (aka cabbage), old yarn, or bits of old clothing.

Step 8. Affix to dowel
Insert at least six inches of thirty-six inch (or more) length broomstick. Gather and draw bottom edge of neck to broomstick. Wrap this edge with strong black tape and hold securely in place with about three small flathead nails.
I used black duct tape and flat thumbtacks to attach horse heads to their dowels. These dowels (7/8 inch in diameter) were the only material I purchased specifically for this project.
Step 9. Add bridle
Colorful bias tape makes an excellent bridle. Blind stitch in place and secure with buttons.
I used grosgrain ribbon from my supply bins and whip stitched them along one edge with similar colored thread. The point of most tension is where the reigns attach to the bridle, so folding over the edge of the ribbon at that point before sewing on securely can help make the toy more durable and less likely to need repair. About 2 yards of ribbon were used for each horse.


Conclusion: Making Old into New
It was fun to see this old pattern come to life. I got to use my imagination (and encourage my kids to use theirs) while repurposing things I already had in my home. Even the pattern itself was already at hand. The shapes are not complex, and the construction method is equally simple, but the outcome was more than a little bit charming. My boys knew exactly what these horses were for when they saw them on Christmas morning and easily mounted them for races around the house.
This project was completed a few years ago, and now my boys have somewhat out grown their toy horses. My daughter is now just the right age to keep these ponies galloping around our living room. One day, she too will put them out to pasture (as all kids should), but maybe then she’ll have more sophisticated “hobby horses” to pursue.

Make your own Hobby Horse
What can you make with what you have on hand? Can you create a bit of your own magic with simple materials?
More on Hobby Horses… to come
Next, join me for more about the cultural context of Hobby Horses, including the origin and use of the word “hobby” in the next installment of this series.
See more like this from Sprigged & Spotted.
Quiz yourself with Trivia Puzzles
Get involved with Crafts & DIY
Question and explore with Reflections
Take a closer look at Historic Objects
Looking for inspiration for your own Living History project?
Head over to Pinterest for more images and extant examples of garments, objects, and tools from earlier times.