What is a Lucet?
A lucet is a fiberwork tool usually consisting of two parallel posts joined on one end to form a “U” shape. Some have a single handle at the bottom; some have a hole in the base of the “U.” A few examples of such tools, as well as cording likely made using one, exist in museums. They are associated with Vikings and are purported to have also been used by 17th and 18th century European cultures, but the details surrounding their use remain murky.
The history aside, they are easy to learn to use for modern crafters, and I came up with my own method for making one of these nifty items.
What makes a lucet different than other fiberwork tools?
Unlike woven or braided rope, a craftsperson using a lucet does not have to measure out a finite length of their starting material before they begin work. It seems to be more akin to crochet foundation chains in this way. However, the process of making 4-sided cord with a lucet reminds me of a knitting motion and modern knitting machines appear to work using the same basic principles, albeit with many more tines.

How to make a homemade DIY lucet out of household materials
Project Overview
This craft uses a laminate, i.e. many-layered, method to create a surprisingly sturdy, very usable lucet. Just as in plywood or ropes made of many strands, the layers of bonded material give this easy-to-make lucet an amazing amount of strength. As a bonus, I was able to find all of the materials I used readily available in my home and avoided getting out any power tools. No special, or unique equipment is required, and with the exception of drying time, the project took me maybe thirty minutes (though I didn’t track the time).
Materials & Tools
- Printable Sprigged & Spotted Lucet Template (optional)
- 1 – Cardboard cereal box (or similar flat non-corrugated cardboard packaging)
- Craft scissors
- Marker or pencil
- Sharp utility knife (or similar cutting tool)
- All-purpose craft glue
- 8 to 10 clothespins (or other clips)
- Sand paper (optional)
- Clear packing tape
How to make the Lucet
1 – Make a template
Print the template or sketch out your lucet shape onto a sheet of scrap paper (like printer paper). If you are sketching, try folding your shape lengthwise, in the fashion of making paper hearts, to ensure your shape is symmetrical. Because this tool will be made of cardboard, do not make your handle or tines too narrow, or your lucet will not be able to stand rigorous use. My shape measured approximately 6-3/4 inches tall by 3-1/4 inches at its widest point.
2 – Transfer template to cardboard
Tear open the vertical seam of your cereal box and flatten out the box. Draw out a the general shape of a lucet (see image) onto the interior surface of the flattened box with a pen or pencil. If your marks are faint, trace over your lines with a heavier marker.

3 – Cut out your first shape
Cut out the outer edge of the shape with household scissors. Use a utility knife or other sharp tool to cut out the center circle shape.

4 – Make 5 copies of your shape
Using your first cut-out as a template, trace out 5 more lucet shapes onto the cardboard. Cut out the shapes with scissors and a utility knife, just as you did the template. You should now have 6 total lucet shapes.
Tip: If your shape is not totally symmetrical (mine was slightly irregular), be sure to flip the template over before tracing at least one of your duplicates. This will allow you to have plain outer layers and therefore, logo free lucet.


5 – Glue layers together
Use all-purpose craft glue to bond layers together, one at a time.

6 – Clamp and dry
Use spring clips to clamp the layers together for drying. Make sure to use enough to prevent edges from spreading apart. (I used some old-school clothespins I had around my house.) Leave the glued-together lucet in a ventilated area to dry at least twice as long as the glue’s directions specify. The extended drying time is necessary due to the multiple glued layers.

7 – Smooth edges and apply tape
Once your homemade cardboard lucet is dry, use sand paper to smooth off any oozed-out dried glue. Add short strips of packing tape to the outer edge of each fork. The tape helps your working fiber or yarn slide more easily over the cardboard.

How do I use my lucet, now that I have one?
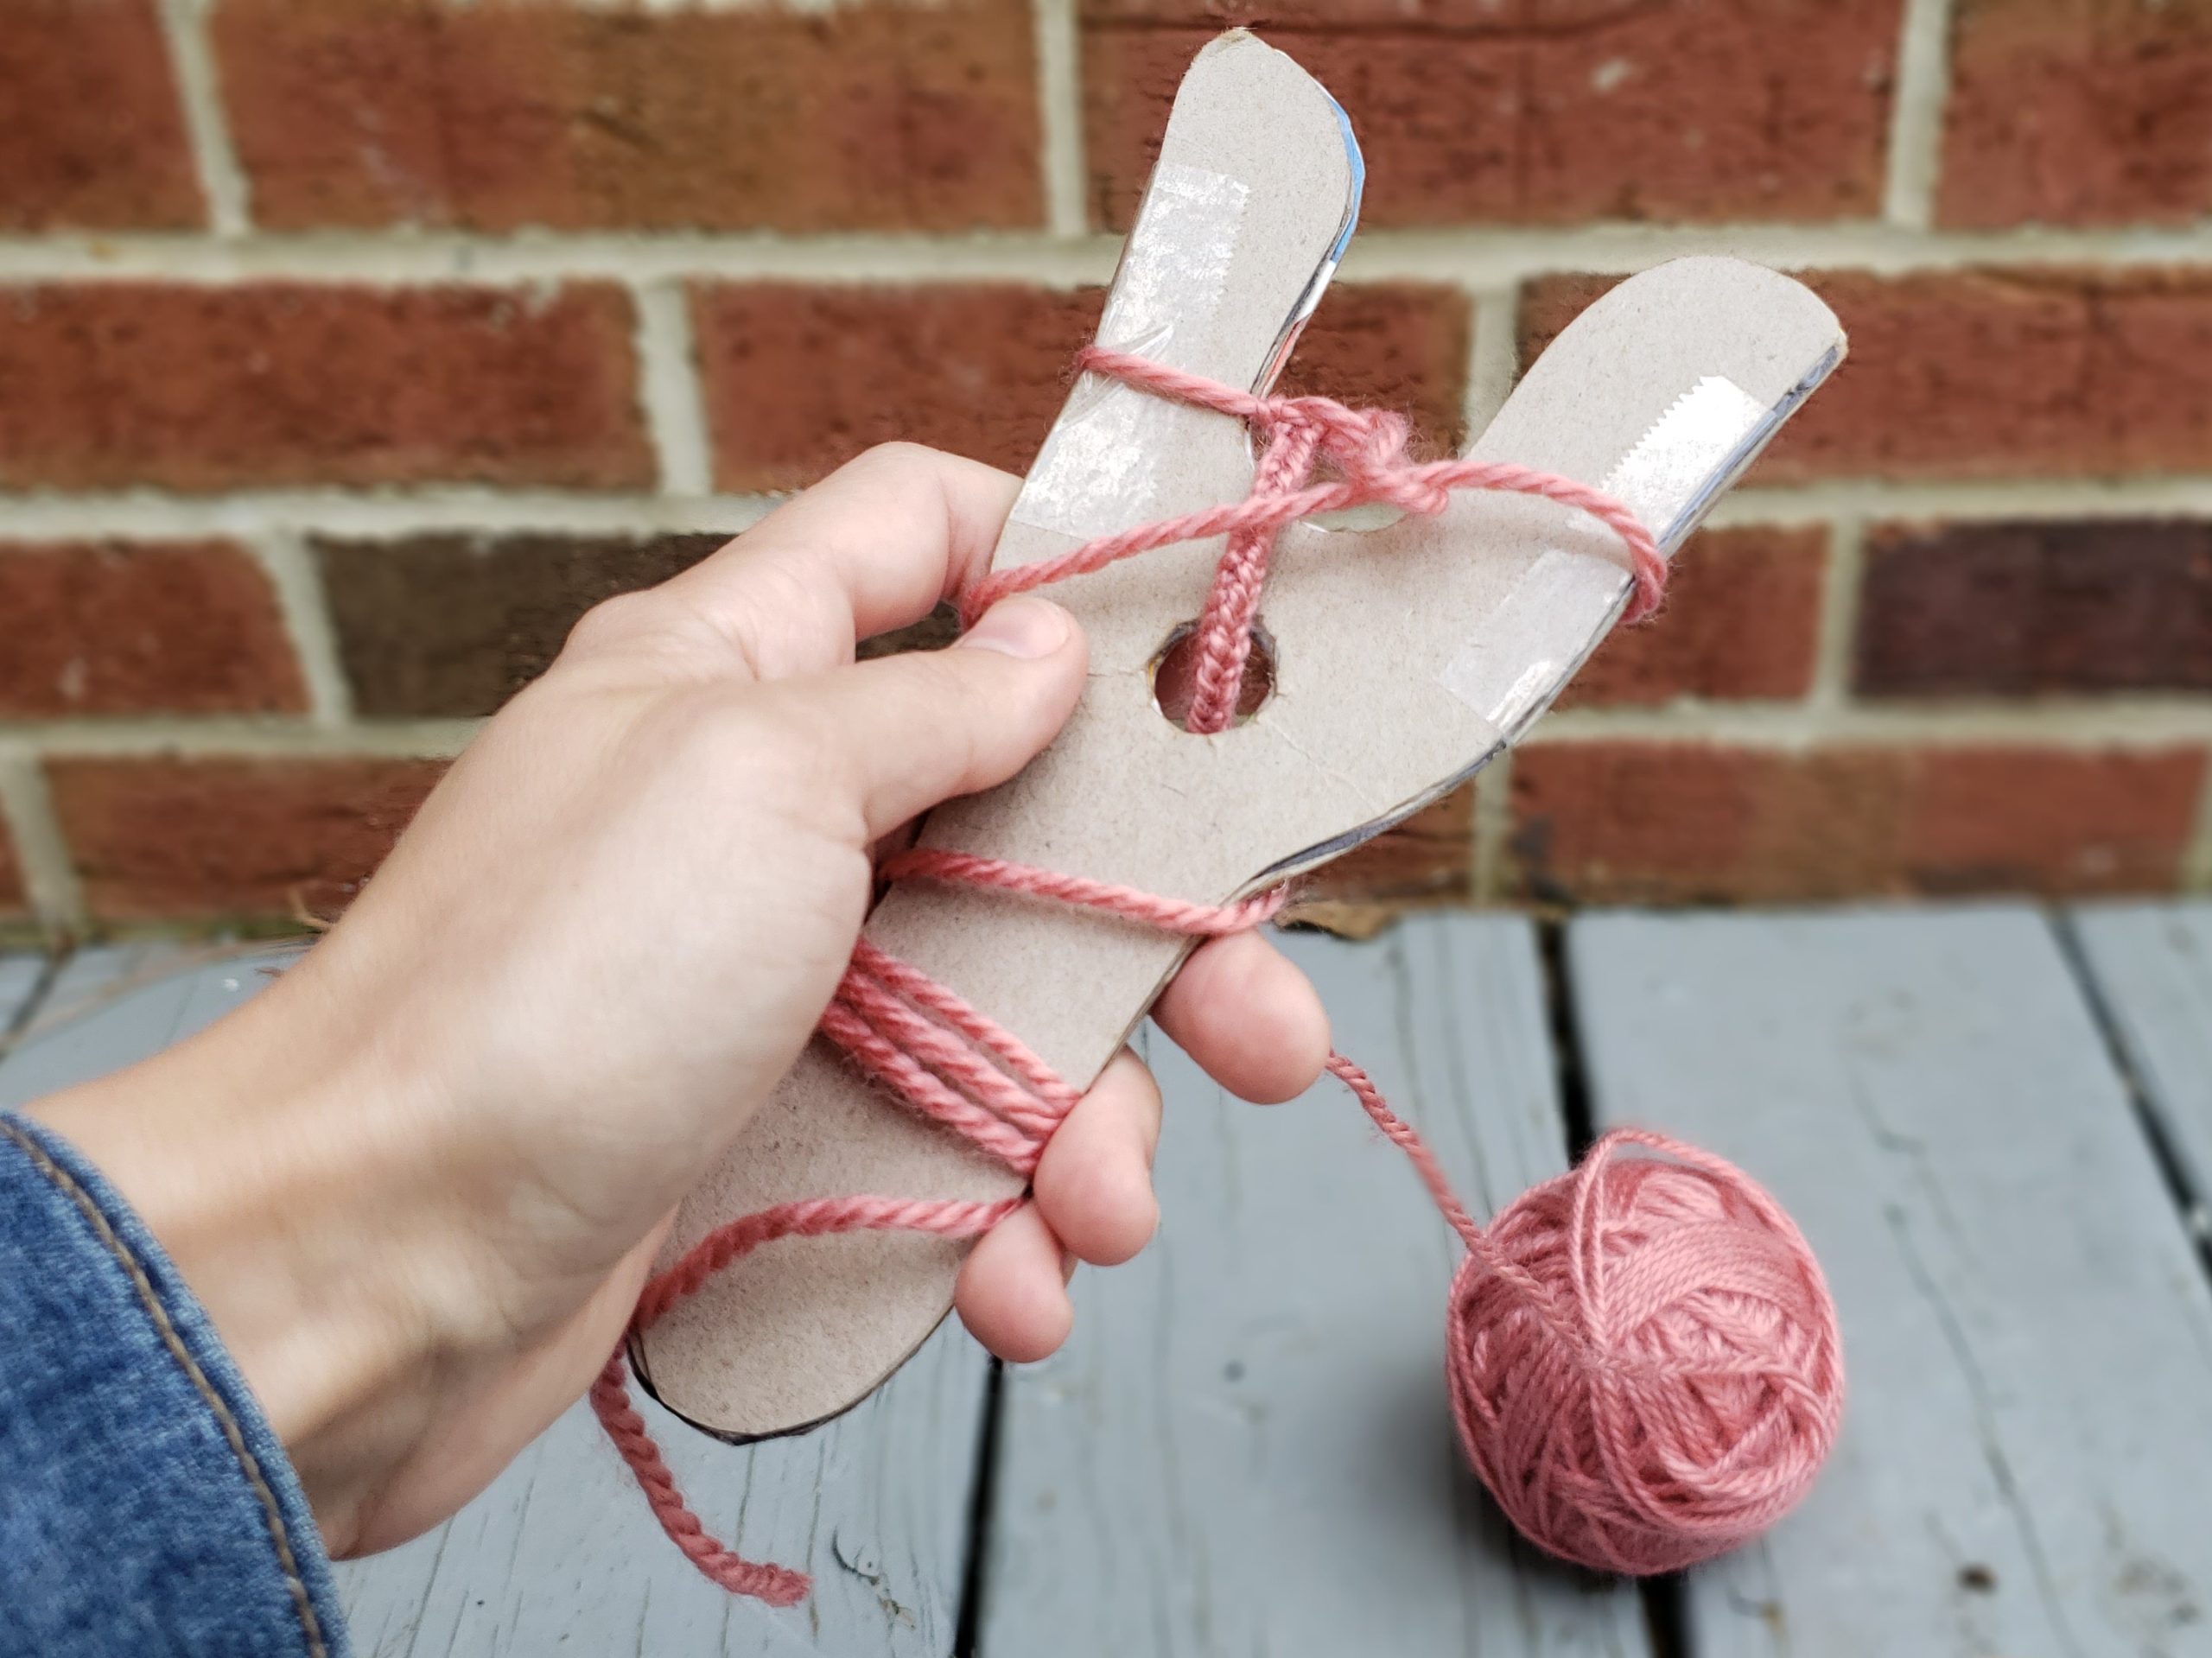
The general principle is to wind your string in a figure-eight fashion around the tines. Then, each stitch is accomplished by passing previous loops over more recent ones, in knitting-like fashion. Your resulting cord can be loose and stretchy or snug and somewhat stiff (as in the photo below), depending on how much the maker tightens the stitches with each loop.
Anyhow, several good tutorials exist on the internet, and I’m unlikely to improve upon them here. Therefore, I suggest that you reference one of the links below to learn how to use your new cord-making tool.
What do I do with my new skill?
The strong, slightly stretchy cord produced by a lucet has a multitude of uses, but if you’re looking for something more specific, try making Christmas garland.
Make your own garland using a lucet.
Thanks for following along! I hope you enjoy your new knitting fork!

Leave a Reply